The University uses the centralized network printer configuration Novell iPrint for self service installation of printers on campus.
Instructions on how to install an iPrint Printer on Apple Mac OS X are as follows:
- Open a Web Browser, Safari/Chrome and go to http://iprintc.ru.ac.za/ipp (Staff and Departmental Printers) or http://iprintf.ru.ac.za/ipp (Residence and Student Printers) depending on which printer you want to install.
- Scroll down the list of printers and click on the one that applies to your physical location. If this is your first time you’ve installed a printer on iPrint or the client is not installed, you will be asked to install the iPrint Client. You should only need to install this once. Click OK to continue with the installation. Otherwise skip to step 3.
- This should download the file "iprint.dmg" into your Downloads folder. Open "iprint.dmg" by double-clicking on it to mount the package. Open/Double-Click "iPrint.pkg" to start the iPrint Client installation which will open a window resembling the following image...
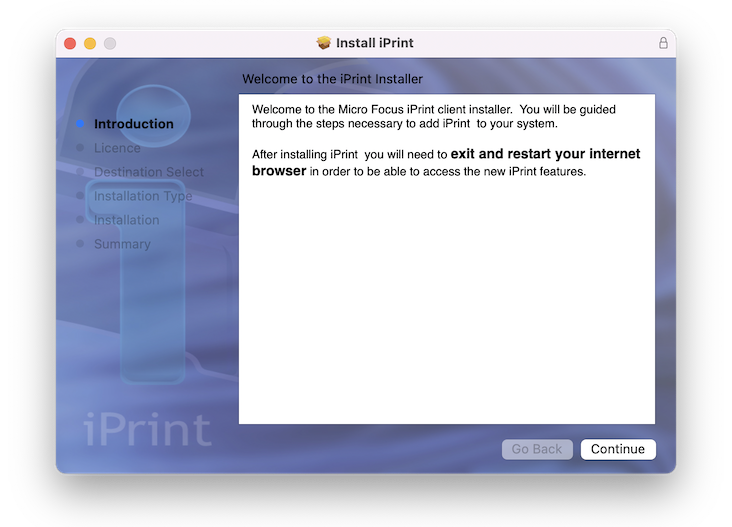
- Click "Continue" and agree with the software license agreement...then click "Install".
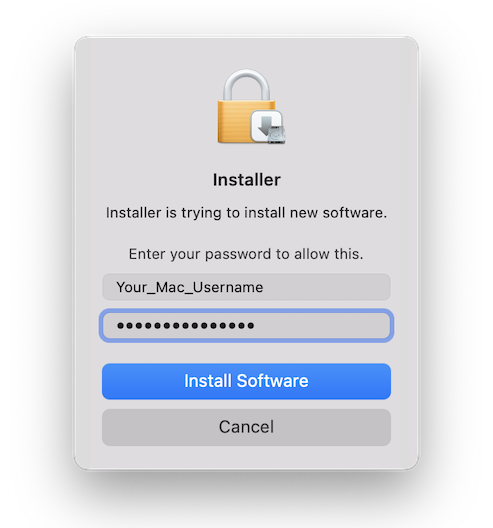
- This should prompt for authentication to install the software on your computer. At this point you should authenticate with your Mac Device OS password (the same password you use to login to your Mac) as seen in the screenshot below...
- Once successfully installed, you should notice a Micro Focus iPrint Client printer icon in the Apple Menu bar (usually top right next to the time)

- Close your browser completely by clicking "Safari" > "Quit Safari" in the Apple Menu Bar or "command Q" keyboard shortcut and then re-open it again.
- In the address bar, go back to http://iprintc.ru.ac.za/ipp (Staff and Departmental Printers) or http://iprintf.ru.ac.za/ipp (Residence and Student Printers) depending on which printer you want to install.
- If this was not the first time installing an iPrint printer and you already have the iPrint client, you should now be at this step.
- Find your specific printer in the list and click on its name to start the printer installation. At this point you will be asked if you want to install it, click "Install".
- The iPrint client application should prompt for your RU credentials i.e. staff/student username and password...
(e.g. s220999 or g22x0999). If you do not know this password, staff can reset their password from this page http://www.ru.ac.za/informationtechnology/resources/changestaffpassword/; for Students, you can reset your password here https://ross.ru.ac.za/passwd/
- Depending on the printer model and associated driver, iPrint may require that you first install the Driver Package before installing, which places associated PPD filters in your your mac /Library/Printers folder.
- When prompted, click "Install Driver Package" and "continue" and "allow" with the prompts until the driver package is installed.
- If prompted by the software installer for your username/password during the package installation, this is referring to your device credentials (as in point 2 above).
- N.B. For the Xerox Printer Drivers, the installer package may prompt you to connect to a specific printer, you will need to skip this and continue to install the software without selecting a printer since iPrint will handle this for us.
- Once the necessary driver packages are installed, you should be able to install the printer, with the associated PPD driver and the printer installation should complete.
- The installation will indicate if the printer has been installed successfully or not.
All done, the printer will now be available for selection in your printer list when printing documents etc.
Last Modified: Wed, 30 Mar 2022 10:51:58 SAST